Introduction
I have 2007 Honda Odyssey EX-L with built-in entertainment system, so called DVD player. For a long time, I kept a book of DVDs in the vehicle and I had to change the media whenever my kids wants me to. To summarize the disadvantages of carrying DVDs are:
1. Big and heavy
2. Have to keep it up to date so the kids are not bored.
3. Distracting and unsafe when they ask me to change while driving.
4. Scratches make DVD unplayable or skip.
So I have decided to upgrade my minivan with media player. I have used WDTV for a few years at home. The advantage of this media player is that it has two USB ports. I can attach USB thumb drive(s) to work as attached drive.
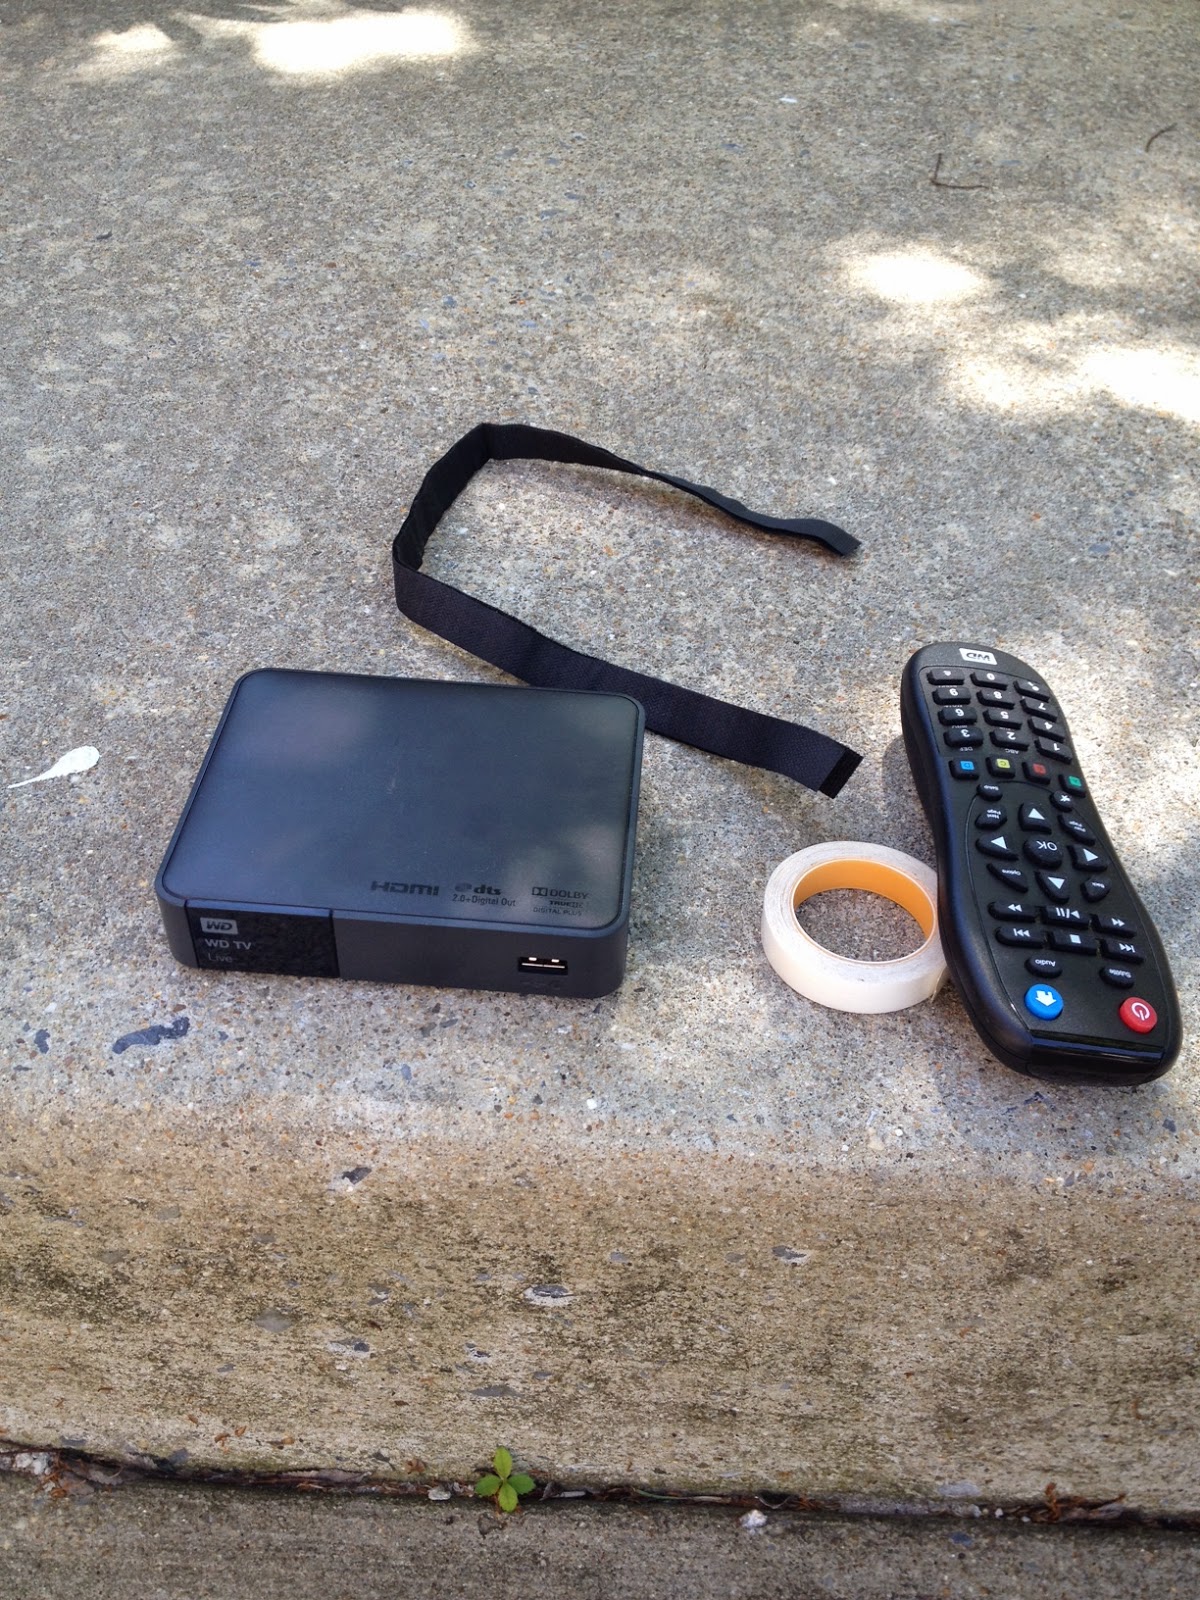 |
| Figure 1. WDTV media player and Velcro to attach in the vehicle. |
Although portable HDD (2.5 inch) gives much more storage option for the price(1 TB or more), it has moving parts and cable connection. I decided to use 128 GB USB thumb drive since it would be good enough size for the vehicle (SD quality (480p)). It also has no moving parts so it should last longer than HDD especially in the moving vehicle. FYI, I have paid about $45 in Spring 2014.
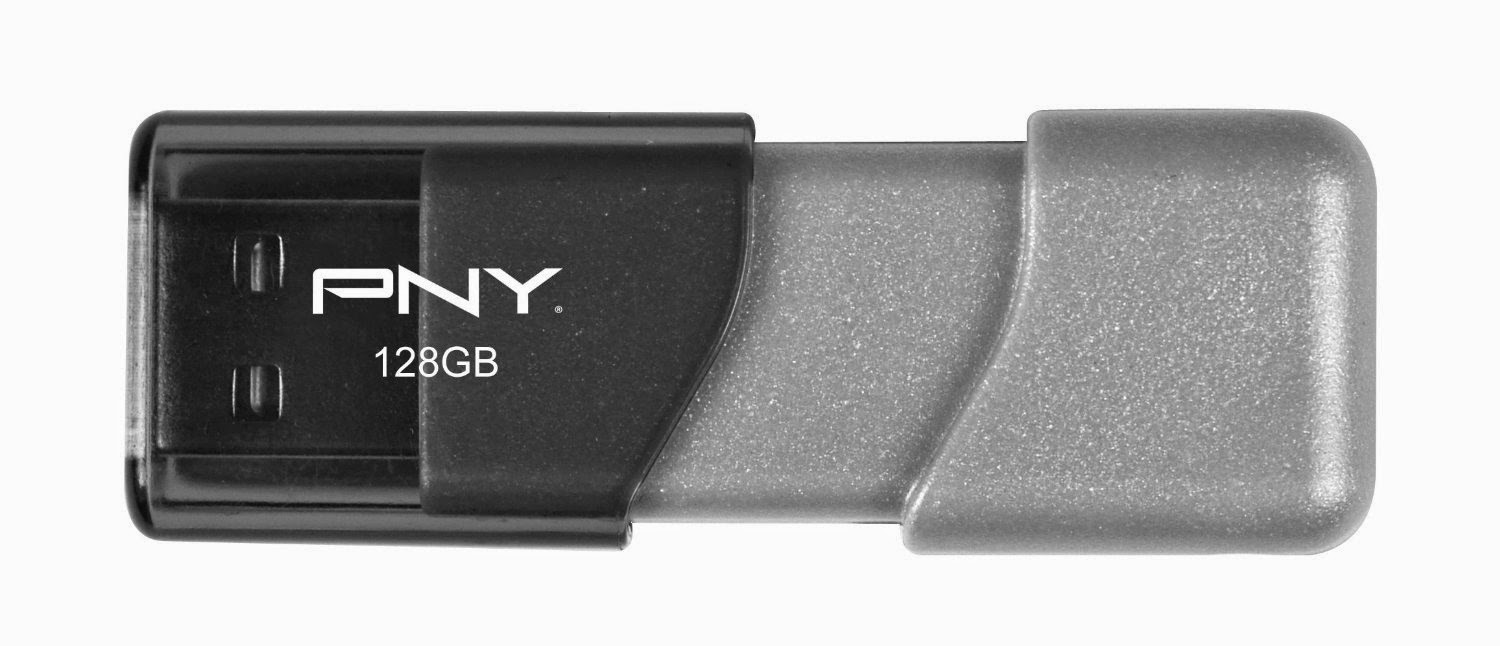 |
| Figure 2. PNY 128 GB USB thumb drive. (Courtesy amazon.com) |
Another good thing about WDTV is that it is one of very few media players these days with RCA input ports. Most of new models only come with HDMI port which does not fit in my old minivan.
What I have
WDTV requires 12V DC adapter for home use. In the Honda Odyssey, there is a 12V DC power jack in the trunk so I can use it directly without using a power inverter. I could use the power from the front but I thought it would be better to have AUX and power comes from the same wall or direction to make wiring easier.
 |
| Figure 3. In the trunk (driver side), there is a 12V DC power jack. |
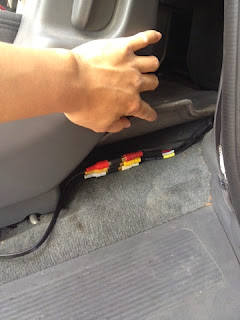
Also in the driver side rear seat, there is RCA input port taking Video, Left, and Right signals.
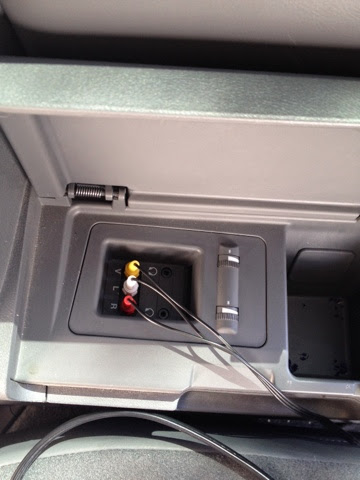 |
| Figure 4. RCA jack located in the side globe box in the rear driver side seat. |
Main difference between home and vehicle use of media player is the constant power to the device. In home use, even though the user turns off the power of the device, the wall power still provides enough voltage to keep the metadata such as checking to see if the movie is previously viewed, if it had stopped in the middle, and so on. So it can resume when the user turn the device back on. In the vehicle, kids are annoyed if they have to watch the same first part of the movie whenever parents stops and restart the engine. In order to prevent this issue, I took a 12V battery from my old home alarm system that I no longer use.
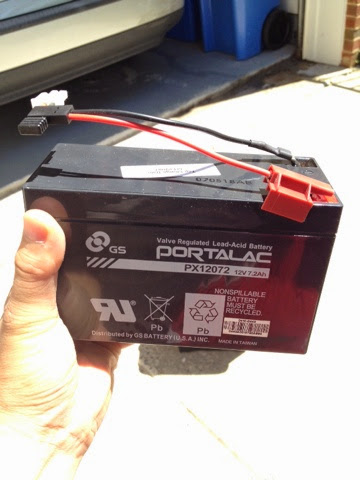 |
| Figure 5. Small rechargeable 12V battery from old home alarm system. |
At least two cables should be attached to the WDTV to play a video: 12V power and AV. AV comes from RCA ports but I only had two 6 feet cables.
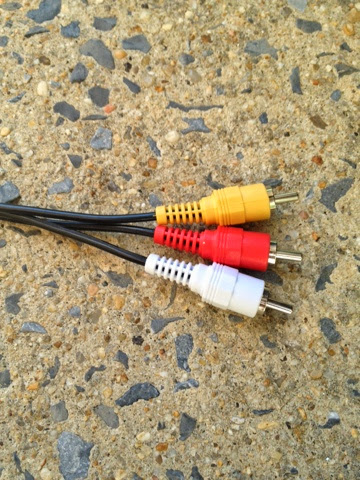 |
| Figure 6. RCA cable that needs to be cut and soldered. |
What I did
Firstly, I need to find a good spot to keep the WDTV device. WDTV's remote does not allow wide angle so it has to be in the center of the vehicle as much as possible so people in any seat can use the remote without trouble. I decided the location would be under the center console between the driver and passenger seat.
I had one RCA male-to-male connector so the AV port should be extended. I cut one color on each cable and soldered carefully.
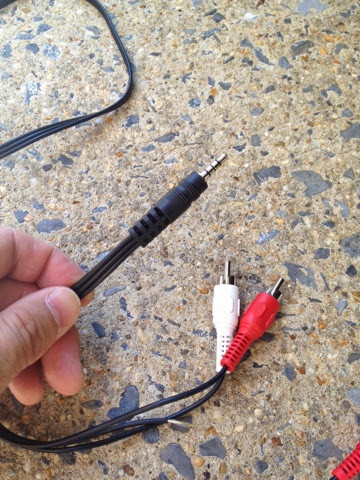 |
| Figure 7. AV-RCA cable to be extended by soldering. |
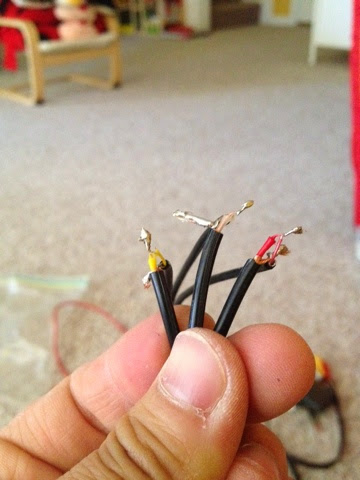 |
| Figure 8. Soldered RCA cables. This cable became >6 feet. |
I took a connector from my broken electronics and soldered it to the battery so I can replace it without cutting the wire if I have to.
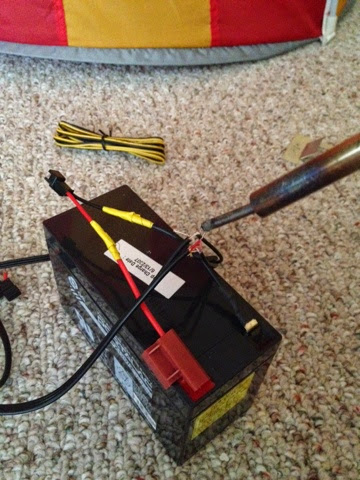 |
| Figure 9. Battery connector is soldered. |
Figure 10 shows the sketch of the installation. The battery goes underneath the middle seat and WDTV will be installed under the center console. When engine runs, 12V battery will be charged and the power to the WDTV will not stop even after stop the engine. In the WDTV option, there is a power saving option to turn off the media after 3 hours of no action. I turned it on but I still wish the duration can be adjusted.
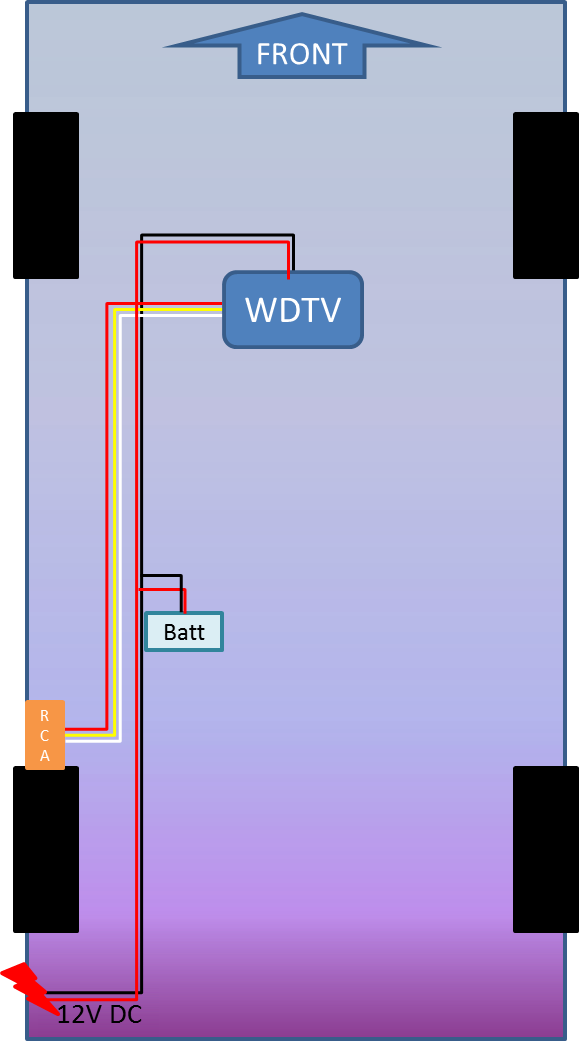 |
| Figure 10. Schematic diagram of wiring. |
All the cables go underneath the carpet and the seats. The battery is installed underneath the middle seat. It is not only invisible but also protected by the direct Sun light when parked.
 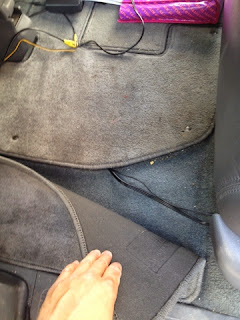 |
| Figure 11. Cables underneath the carpet (middle seat) |
|
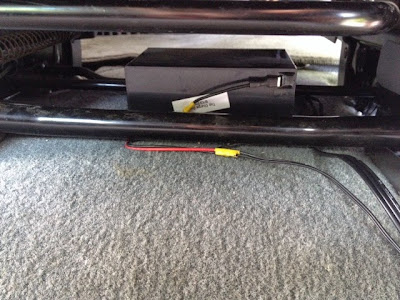 |
| Figure 12. Battery underneath the middle seat. All the wires goes under the bars so it won't have issue when removing the middle seat. |
Figure 14 shows the WDTV using Velcro. There is another USB port in the back so the capacity can be extended in the future. Also I can bring many USB memory sticks so I can carry hundreds, thousands of movies/TV shows in just a few thumbs drives.
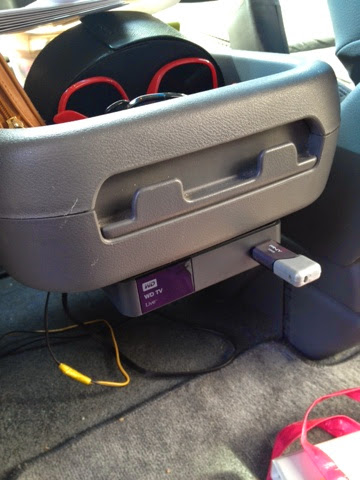 |
| Figure 14. WDTV is attached under the console using the Velcro. |
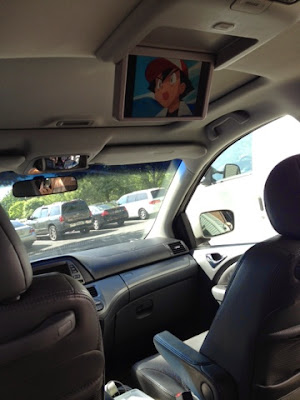 |
| Figure 15. Kids are enjoying Pokemon video using WDTV. |


.JPG)

